Saturday is worth the setup.
Low cloud, steady air, and nearly six usable hours make this the best opening in the range.
Continue Veil campaignBest fit
North America NebulaSame setup
Find your window into the universe.
Clearhour turns the forecast, your horizon, your gear, and the sky above you into one practical imaging plan, and carries your sessions forward across more clear hours and nights wherever you want to capture the wonder of the sky next.
Sky Signal, your site, your gear, and tonight's target list all read from the same data, not five disconnected tools bolted together. Change one thing, and every plan downstream already knows.
Point at what tonight can actually deliver, not a generic visibility chart.
Every exposure, filter, and panel, scheduled around tonight's Sky Signal.
Big projects that remember exactly where you left off.
Every plan already knows what your scope, mount, and filters can do.
Plans, session details, and photos stay with your account across devices, ready to revisit or share.
Clearhour connects the ten-night outlook to the work already in your portfolio, finds the nights worth protecting, and turns each one into the next useful step.
Low cloud, steady air, and nearly six usable hours make this the best opening in the range.
Your neighbor's house and trees delay the Veil, so Clearhour starts with the North America Nebula and moves to the Veil when it clears, optimizing time on both targets near their highest altitude.
Session details and images stay attached to the project, ready for the next clear hour.
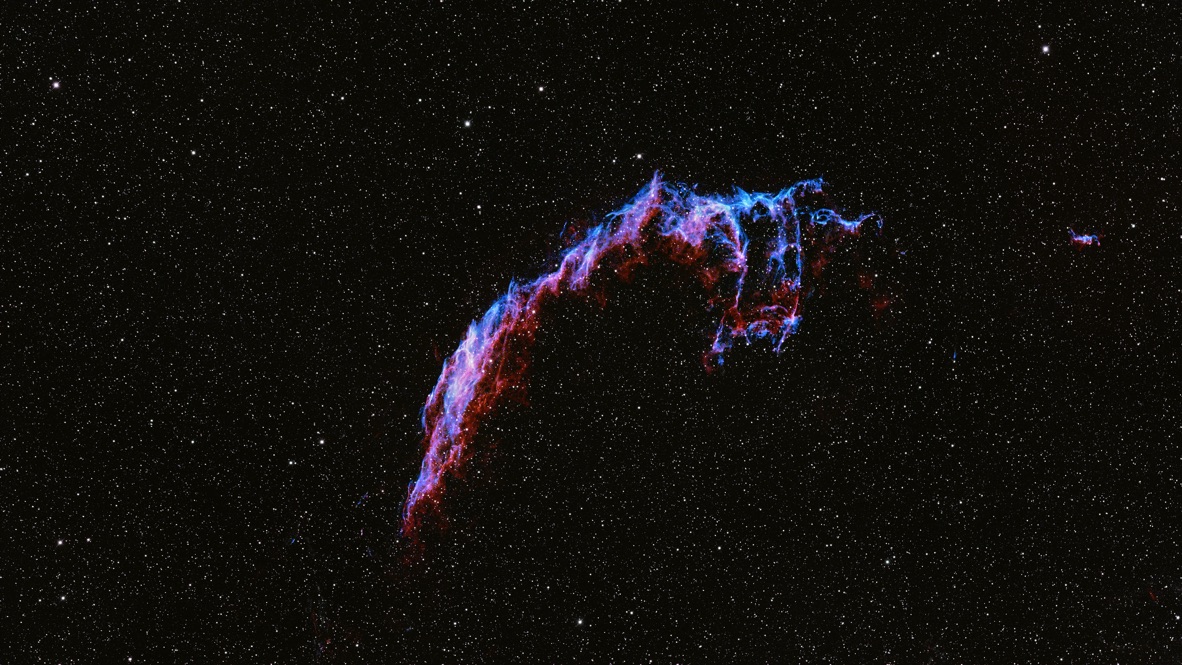
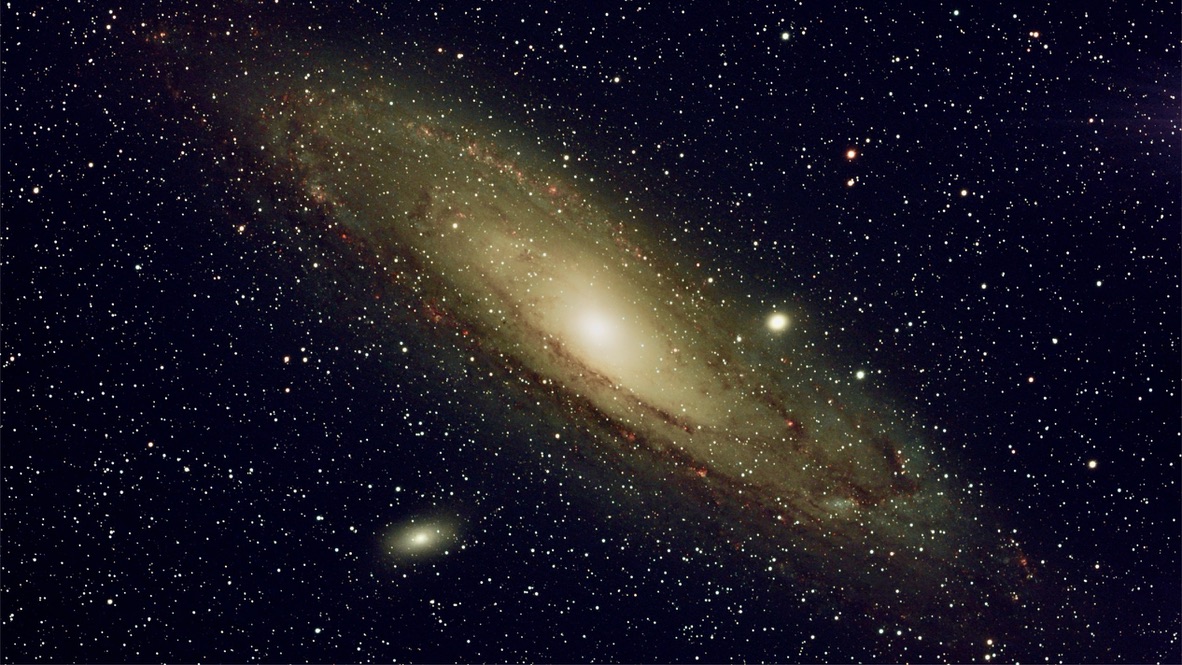
Sky Signal, your site, and your gear narrow the catalog down to what's genuinely worth the hours you have, not a generic visibility chart.
Every target above your horizon gets scored against tonight's Sky Signal, your site, and your gear, then held to a plan of up to three, so you spend the night on what's actually worth it and capture enough data to make magic.
Map the ridge, the roofline, the tree next door once. Every plan afterward already accounts for it, down to the minute a target clears your obstruction and comes into range.
Clearhour matches targets to tonight's Sky Signal, your site's Bortle class and horizon, and your gear's field of view, not just what's technically above the horizon.
You already have enough variables in play, and the opportunity can be rare. When setup begins, Clearhour gives you a bespoke, focused sequence, intelligently ordering what to connect, what to verify, what to shoot, and what comes next.
Multi-night, multi-filter, and mosaic session planning takes the guesswork out of target order, exposures, and filters across every clear night you get.
Each panel: 20 × 300s Hα · 16 × 300s OIII, both filters shot before the 3-min slew to the next panel. 6 panels · 216 subs · 18.0h on target + 15m slews, planned across as many clear nights as it takes.
Same 6-panel plan as the schematic. Clearhour checks Sky Signal for every night in range and schedules 18.0h on target across the useful nights, with slew overhead reserved separately.
Your scope, mount, camera, and filters live in one place, so every target pick, exposure plan, and obstruction check already knows what your gear can actually do, instead of asking you to re-enter it session after session.
Running more than one setup? Save each rig once (travel refractor, backyard RASA, a wide-field second body) and switch between them in a click. Clone a rig to try a change without losing the original, and if a swap doesn't work out, roll back to the version that did.


Switching rigs re-runs every plan against the new gear's specs (FOV, guiding, filter set) automatically.
Every photo keeps its session log attached: filters, exposures, conditions, and location detail at the privacy level you choose. Sign in on another device, and the same session is there.
Click a photo, or a session in the library, to flip it and see the plan behind the shot.
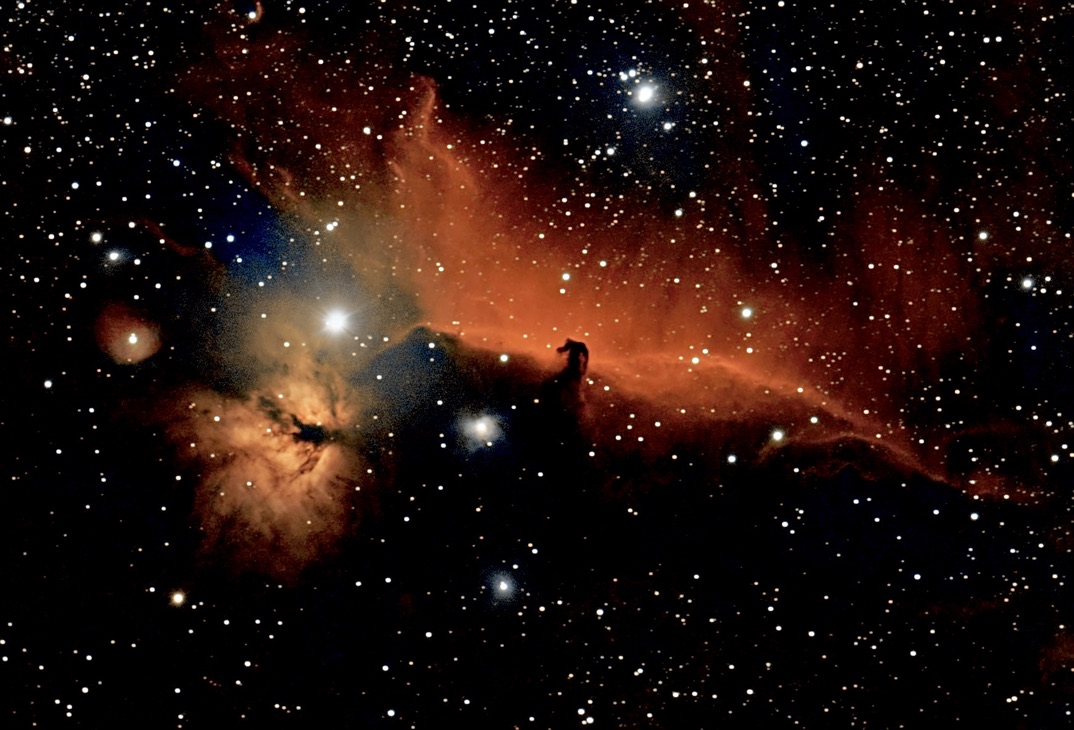
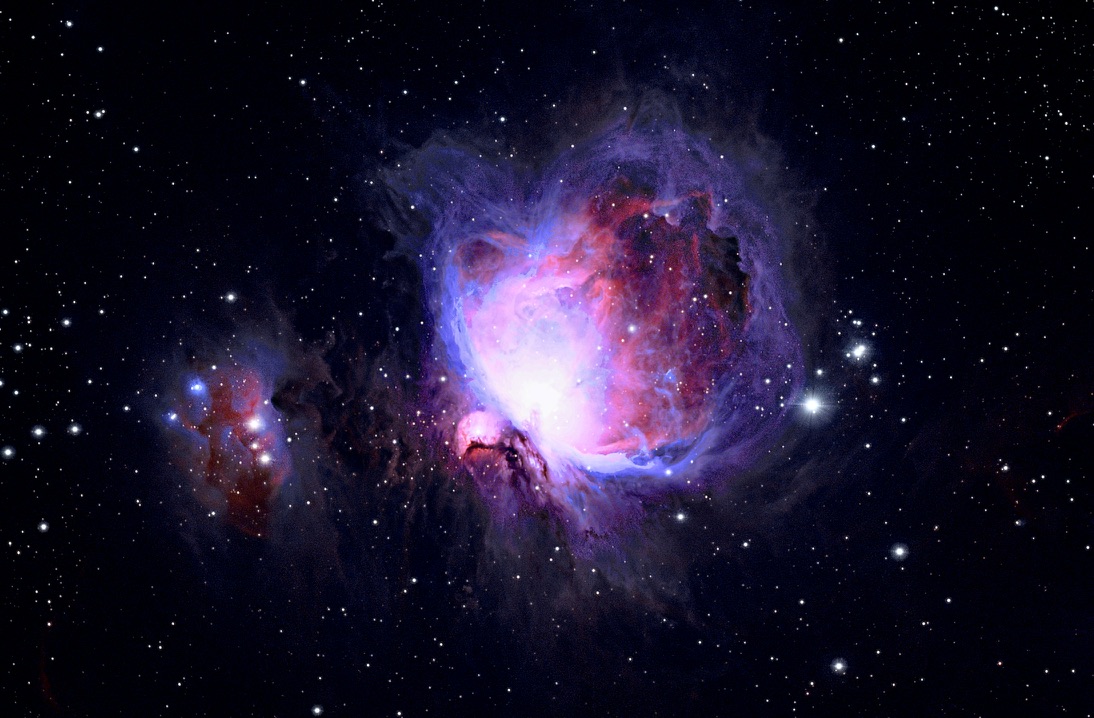
What I know, I've learned from a generous community of YouTubers, Cloudy Nights posters, and Redditors, but I still kept bouncing between forecasts, charts, and calculators, and too often was still figuring things out at the telescope while a clear sky passed overhead.
Clear hours are rare. Clearhour makes them count. I hope you'll use it, critique it, and help me make it better for all of us.
Share a finished Portfolio image with its acquisition details still attached, from wherever your clear hours happen to fall. Sample locations shown, not live user data.
Request a place in the private preview. We are inviting a small first group so every report can shape what comes next.